Overview
Solver includes a robust connector to Dynamics 365 Finance and Operations (F&O). that is available for purchase. Solver’s connector uses Dynamics 365 OData service to connect to all objects that have been made available within an organization’s Dynamics 365 implementation. Access to this data is controlled through the use of Azure Active Directory services and roles. With some pre-configuration on the Dynamics 365 application, a user can quickly load their Dynamics 365 data into Solver Cloud.
Pre-Requirements
- Finance and Operations implementation with a public URL.
- Import an extension (must be done by your F&O admin).
- An Azure AD account to log into your Finance system from within Solver
- A one-time consent process is required the first time you connect your finance system to Solver
- Purchase the Solver Finance and Operations Connector
- QuickStart (QS), included with your purchase, is available for all new implementations as of January 2022.
This article will go into detail on #2 and #3, please consult with your Finance Admin or consultant for additional assistance.
Importing the Solver Extension
Solver QuickStart requires custom data entities to D365 Finance and Operations. The customizations are deployed using the Microsoft Lifecycle services.
Deploying the Solver Custom Model
The following instructions are to deploy to a sandbox environment. To deploy to production, use the following instructions in the Production section. https://docs.microsoft.com/en-us/dynamics365/fin-ops-core/dev-itpro/deployment/updateenvironment-newinfrastructure
Note that if the Solver custom data entities have already been deployed, these steps can be used to update the existing entities.
- Open Lifecycle Services: https://lcs.dynamics.com/v2
- Select the D365 Finance Project
- Select the Asset Library
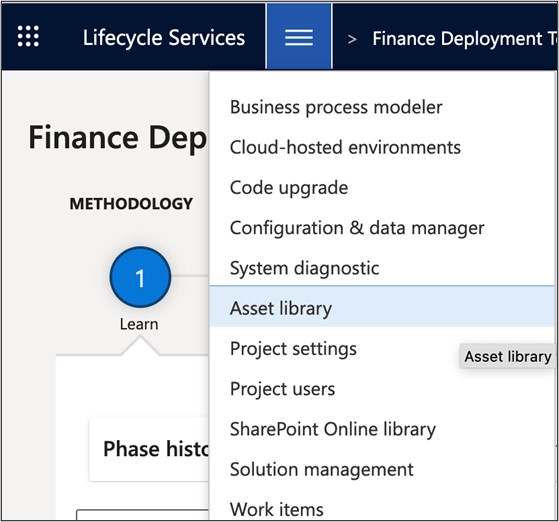
4. Select Software deployable package
- Click the + to import the Solver package
B. Enter a name and description, such as Solver QuickStart
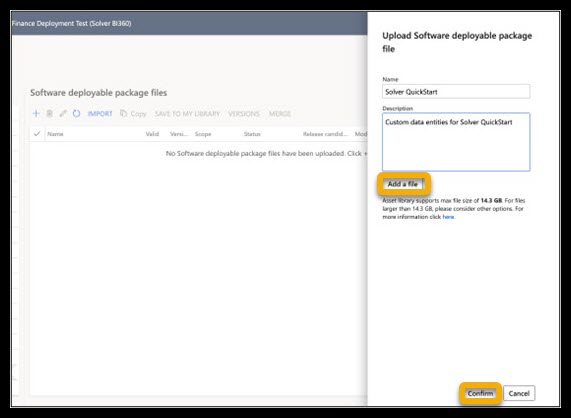
C. Click the Add a file and select the file provided by Solver.
D. Click Confirm to complete the upload
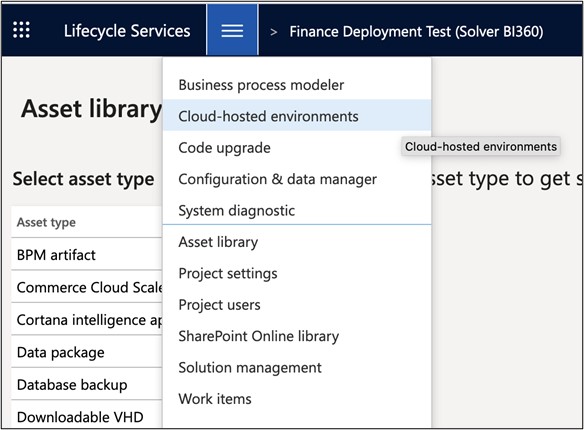
From the top menu, click Cloud hosted environments
5. Click on the environment to deploy the custom package.
- This will show information to the right.
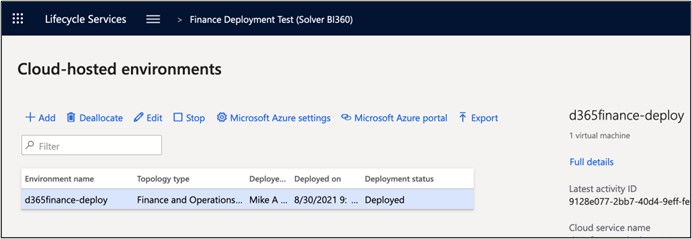
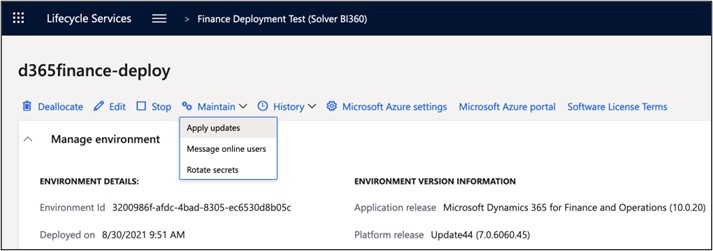
- Click Full Details to open the main details page
- Click the Maintain menu and Apply updates
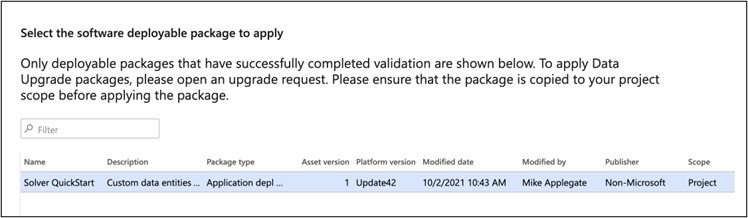
- The deployable packages page will show all available packages to deploy. If there are multiple, search for the package you imported (Solver QuickStart) or the name you typed in when the package was imported into the Assets library.
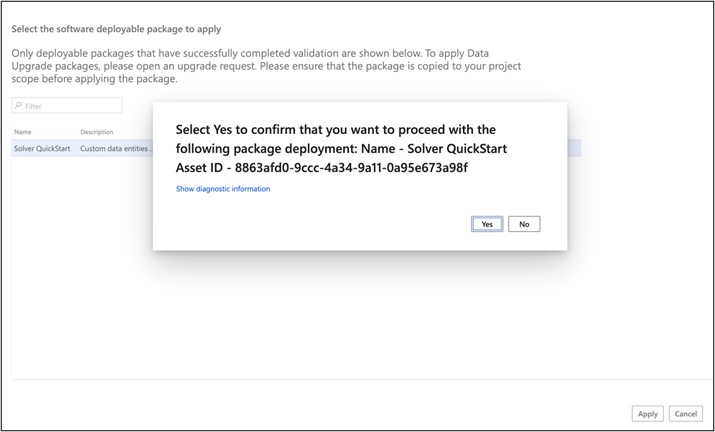
- Click the package to deploy and then click Apply. There will be a confirmation message. To proceed, click Yes.
- This will begin the deployment and update process. This process may take 30+ minutes.

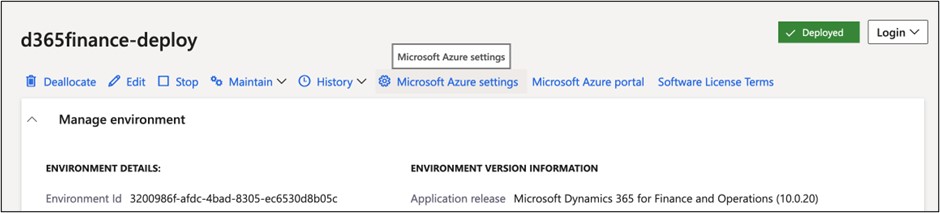
- Once it completes, the status will change to deployed.
More information on deploying through Lifecycle services: https://docs.microsoft.com/en-us/dynamics365/fin-ops-core/dev-itpro/deployment/updateenvironment-newinfrastructure
Verifying Deployment
There are two ways to verify deployment.
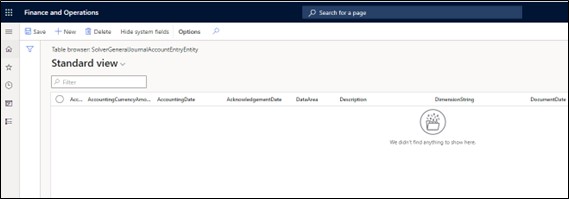
Verify by URL (Table Browser)
The simplest method is to verify that a URL in your F&O installation loads. Simply navigate to the below URL and see if a page loads.
<YourFinanceURL>/?mi=systablebrowser&TableName=SOLVERGENERALJOURNALACCOUNTENTRYENTITY
The page should look similar to this with a blank table with column headers. If this page does not load or you receive an error message, please work with your F&O admin to ensure the package has been deployed successfully.
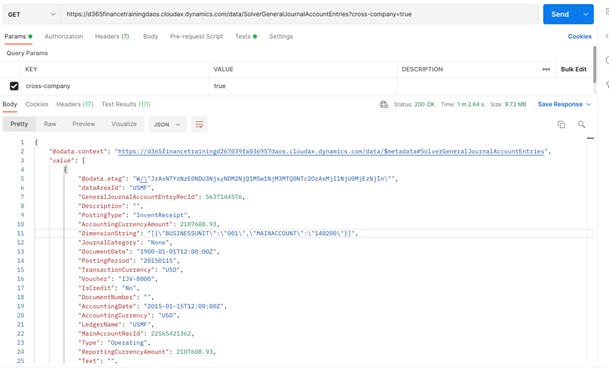
Verify with Postman
Postman is a great application to test endpoints. Please reference this guide to learn more about using Postman with D365
Remove the Solver Custom Model
The Solver custom data entities can be directly removed when deployed to a cloud sandbox environment. Production systems must be done via a Microsoft service request. The Solver custom entities can be updated without removing the model first.
- Connect directly to the D365 Finance environment via remote Desktop
- Open services and stop the following services:
- World Wide Web Publishing service
- Batch management service
- Open the folder containing the SolverGlobal custom model. It is likely found here: K:\AosService\PackagesLocalDirectory\SolverGlobal
- Delete the Solverglobal folder
- Restart both services
User Permission
The following privileges must be assigned to a role within your finance system. To use QuickStart, the following permissions are required.
- CompanyInfoEntity
- CustCustomerEntity
- FinancialDimensIonValueEntity
- LedgerChartofAccountsEntity
- LedgerEntity
- MainAccountEntity
- SolverDimensionAttributeEntity
- SolverDimensionAttributeLevelValueEntity
- SolverGeneralJournalAccountEntryEntity
- StandardMainAccountEntity
- MainAccountCategoryEntity
- CurrencyEntity
Note that these permissions only give you access to QuickStart GL data. if you wish to bring in more data then you need to add the appropriate entities that contain that data. Here is an article with more information on this (https://learn.microsoft.com/en-us/dynamics365/fin-ops-core/dev-itpro/data-entities/security-data-entities)
- Please reference the sections on accessing data via OData (“data services”).
For additional information on creating roles and assigning priveledges, please contact your Finance and Operations admin or consultant
Setting up your Integration
This section will detail how to create an integration between Solver and your F&O data using the Solver QuickStart Process.
- 1. From the landing page, navigate to the Data Warehouse.
- Open the Data dropdown menu and select Integrations.
- Click on Add New at the top right corner of the Integrations menu.
- Select the Dynamics 356 Finance & Operations connector from the marketplace.
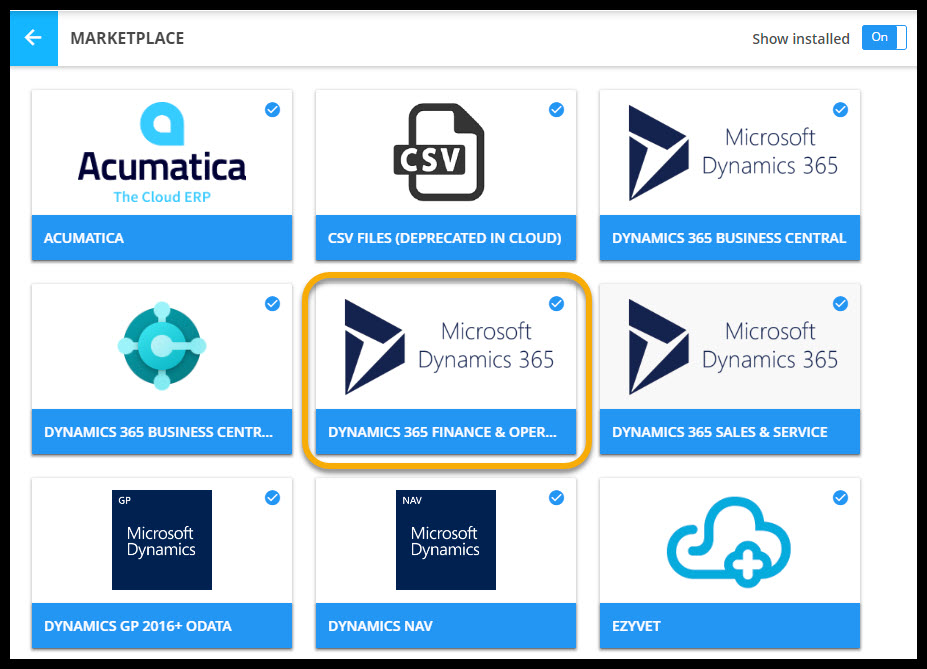
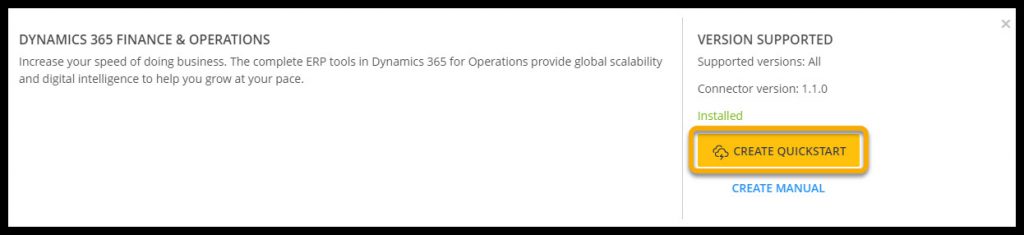
5. Click the yellow Create QuckStart button to launch the QuickStart wizard.
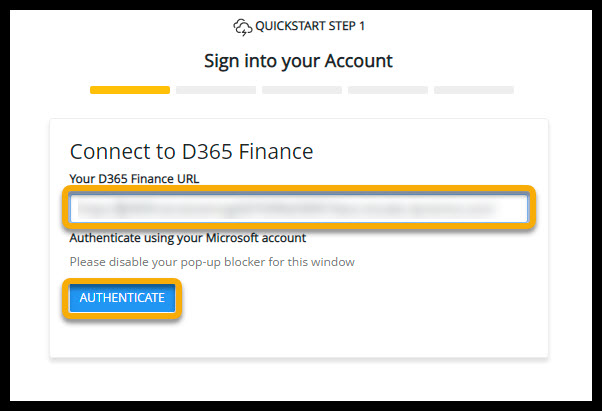
6. Add your D365 URL to the field and authenticate your account.
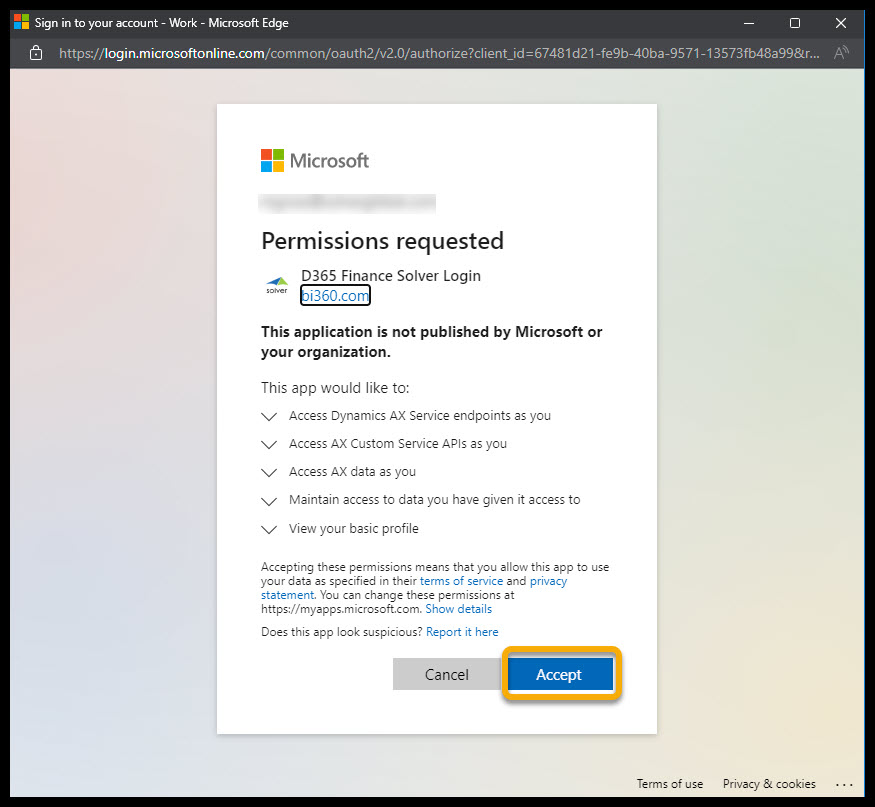
7. If you have turned off any pop-up blockers in your browser settings, a pop-up menu will appear. Select the Microsoft account associated with your F&O account and accept the permissions being requested.
8. Once you have signed into your account and have been authenticated, connect to D365 by selecting the company associated with this account from the dropdown menu in the QuickStart Wizard and then click continue.

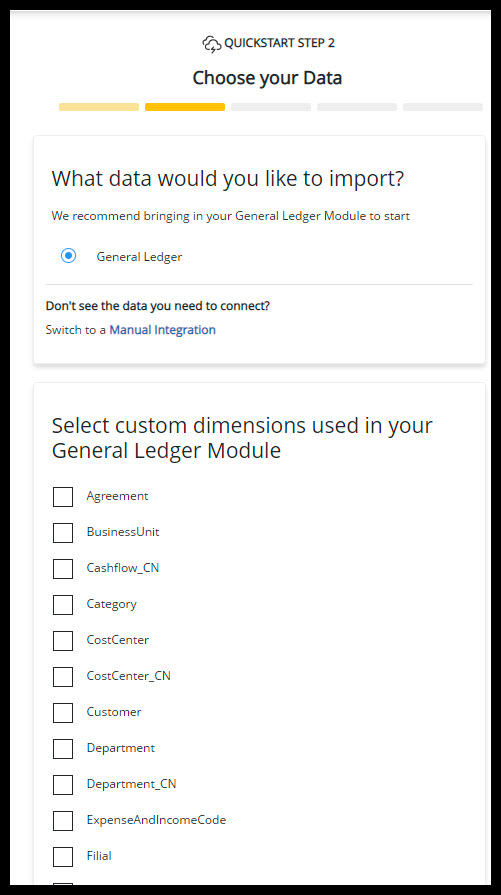
9. Next, you will be prompted to select the data points and any custom dimensions that you would like to import from D365 to use in this integration. At the moment, users are only able to import their General Ledger data. Press continue to bring up the mapping page.
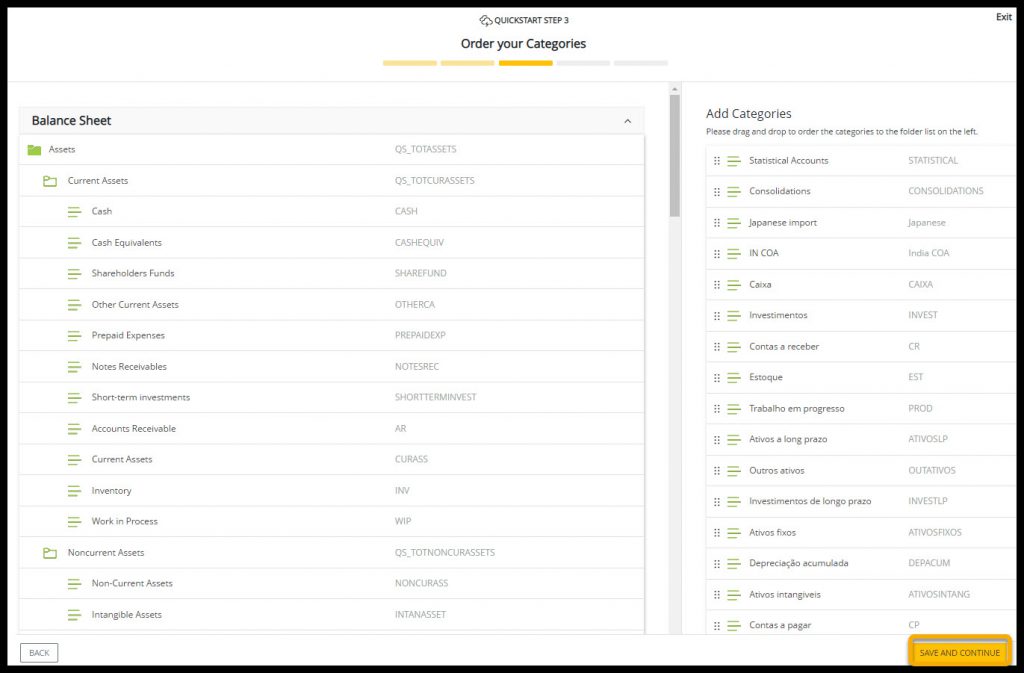
10. You will then be prompted to order the categories and select the data sets that will be included in this integration. Once you are finished mapping your QuickStart integration, press Save and Continue to move on.
11. The final steps of running your QS integration are to label the job, select a time for when you would like to run this job, and provide an email address for status notifications.
For any issues, contact your Solver consultant or Solver Support at: support.solverglobal.com