Overview
This article will detail configuration of the Gateway application. This article is broken down into the following sections
Gateway version 2.2.1+ introduces a new CSV connector (File Import connector). Your existing CSV integrations will continue to work but new CSV integrations must be built using the File Import connector.
Important
- The Solver Gateway can only connect to one tenant. Organizations with two tenants must have two, separate servers to host each install of the Gateway.
- The Excel connector has the following known issues in this release
- Files with special characters will not load >> at this time, please remove special character
- CSV and Excel files with the same name will result in error >> please keep unique file names in the folder the Gateway is referencing.
- Leading or trailing spaces in the column headers will result in preview being blank
- Macro files and password protected files are not supported at this time.
- If you plan to install the Gateway on a new server, be sure to either
- Uninstall the Gateway application from the old server
- Turn off the Solver “Gateway On-Prem” service from your computer’s Services menu
- Special configuration is required for organizations using a proxy, click here.
Installation
The next section will detail installations and upgrades.:
Please reference the section that pertains to your installation.
New Installs
Installation of the Solver Gateway is simple and easy.
- Begin by downloading the Gateway from the Gateway Resources Link within the Gateway Connector found in the Solver Marketplace.
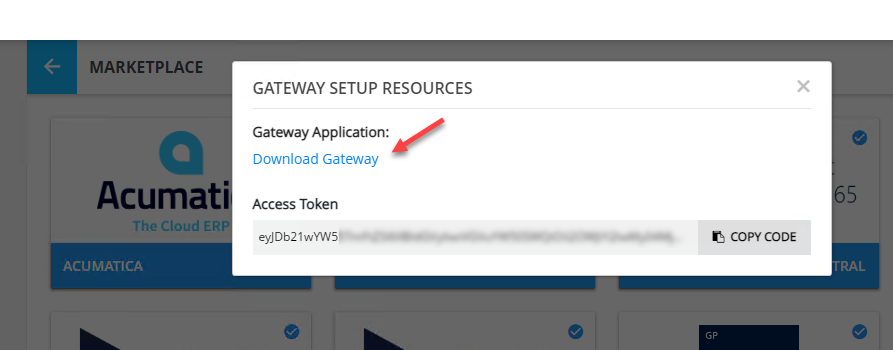
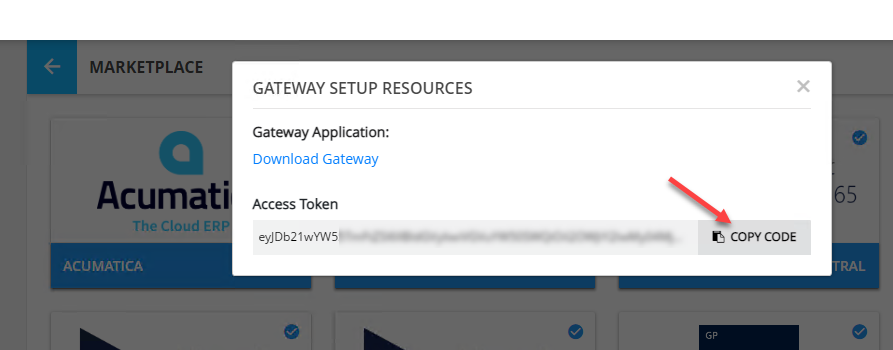
- This link will also give you an access token. Copy this token now, we will need it later.
- If not already done so, make sure the Gateway installer is on the server that the Gateway will be installed on.
- Run the setup file as Admin (Right click >> run as Admin). If a UAC popup appears, go ahead and click Yes.
- In the popup that appears, review the License terms and click the checkbox next to “I agree to the License terms and conditions“. This will enable the Install button.
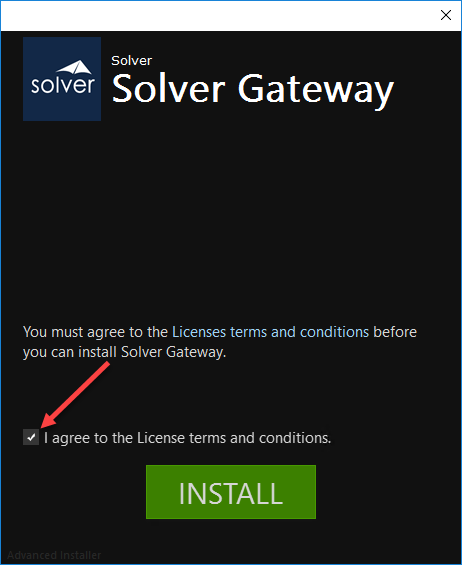
- Click Install.
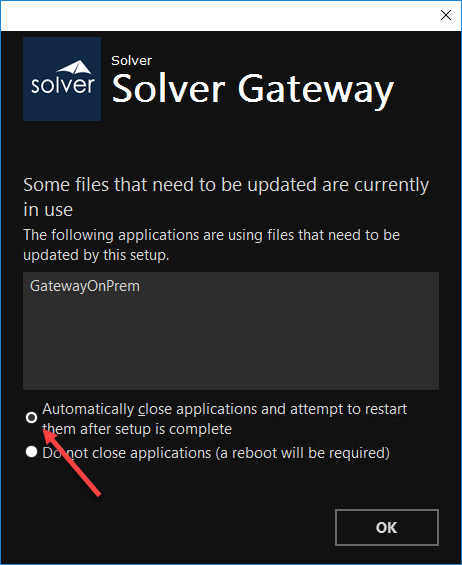
- The install will begin and usually takes <2 minutes. If the Solver Gateway Service is running, users will be prompted to close the application, Click Ok if this prompt appears.
- Assuming the installation is successful, a popup will appear notifying you of a completed install. Click Finish.
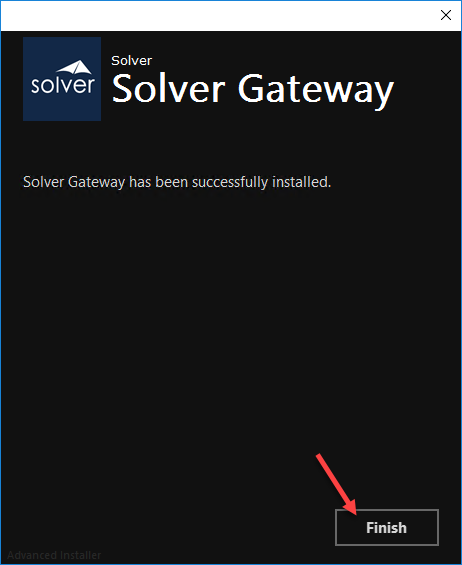
- This completes the installation of the Solver Gateway.
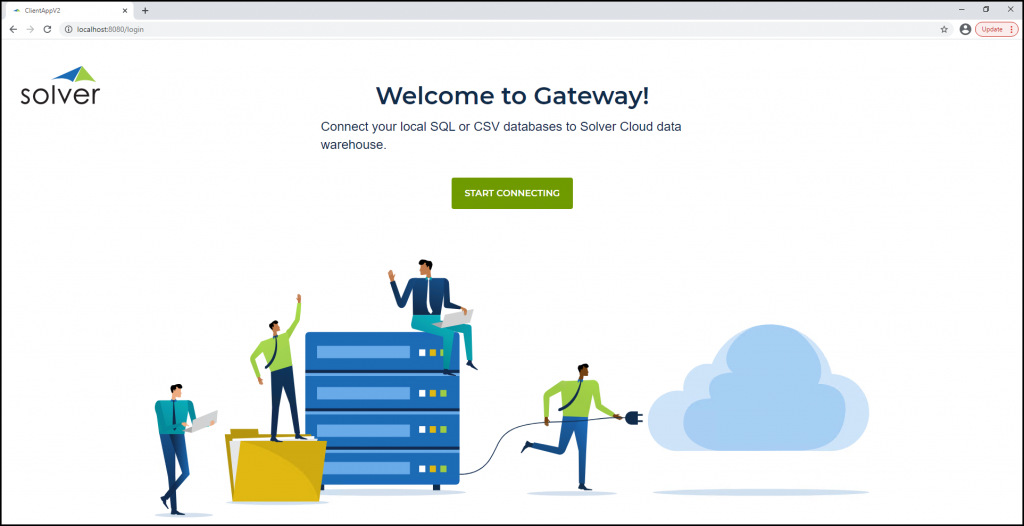
Upon clicking Finish, open your web browser and navigate to localhost:8080. The Solver Gateway landing page will appear. You have successfully installed the Gateway and are ready to create a connection to your Excel file.
Should there be any issues with the installation, please retry the installer. If it fails again, please contact Solver Support.
Upgrades
Depending on the version of Gateway installed. There are two upgrade methodologies.
- For customers on Gateway version 0.x, please contact Solver Support.
- For customers on Gateway version 1.x, you must manually uninstall the Gateway first from the Control Panel
- For customers on Gateway version 2.x, you can just run the new Gateway installer (v 2.2.1) and it will automatically update your Gateway install.
The next section will discuss upgrades for customers currently on version 1.x.
Upgrading to the Latest Gateway version from Gateway 1.x
Before beginning, take note of the following as you will be creating a new connection.
- The current server information where the current Gateway is installed. This can be found by going to localhost:8080 on your Gateway server
- Take note the name of the Gateway connection created.
- Take a backup (copy) of the file found in C:\ProgramData\Solver|Gateway On-Premise\DB: gatewaydb.sqllite.
The following should be done during a scheduled maintenance period. All integrations ran during this upgrade period will not complete successfully.
- Begin by uninstalling the previous version of the Gateway from the Control Panel
- Once the uninstall is complete, run the new Gateway installer. Follow the instructions above.
- Once the installation is complete, navigate to localhost:8080 from your web browser.
You have completed the upgrade. The next section will detail setting up your new connection.
Configuration of the Gateway
Configuring the Gateway
Now with the Gateway up and running,
- Click Start Connecting from the home page of the Gateway.
- You will be prompted for the access token which was available in the Gateway Setup Resource link.
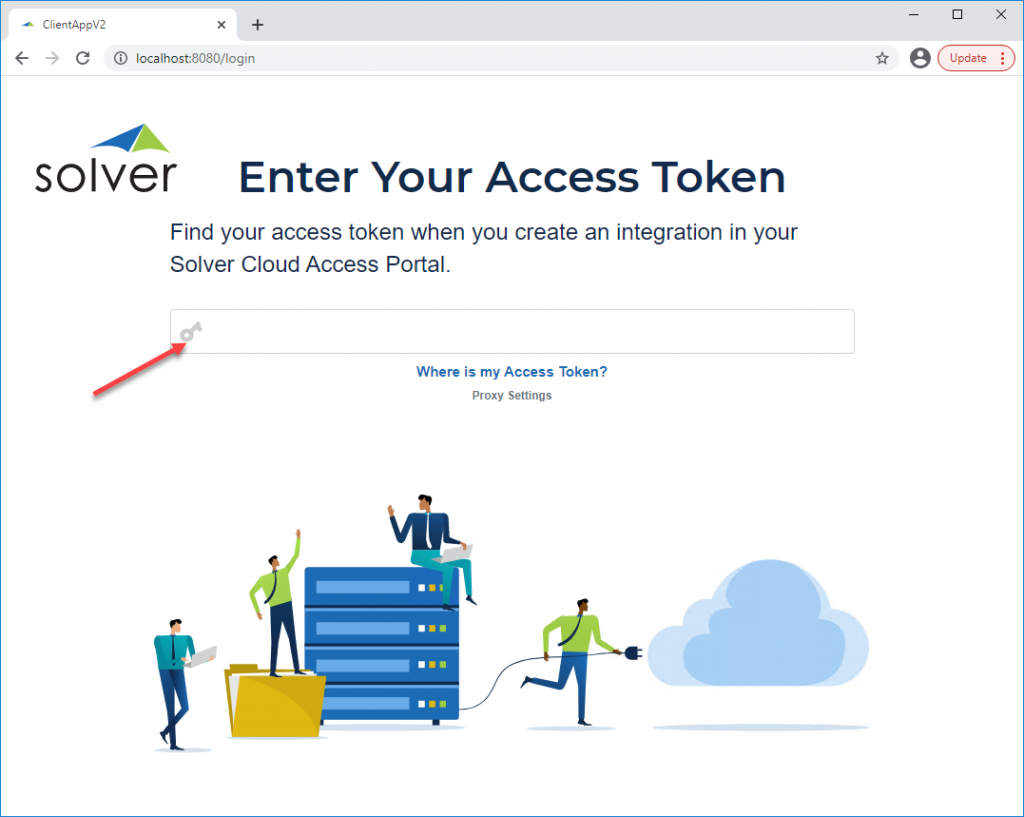
- Paste this code into the Access Token text box.
- Assuming a valid access token has been provided, you will be taken to the Gateway welcome page where you can choose to connect to a SQL data source or a file import source (such as Excel or CSV).
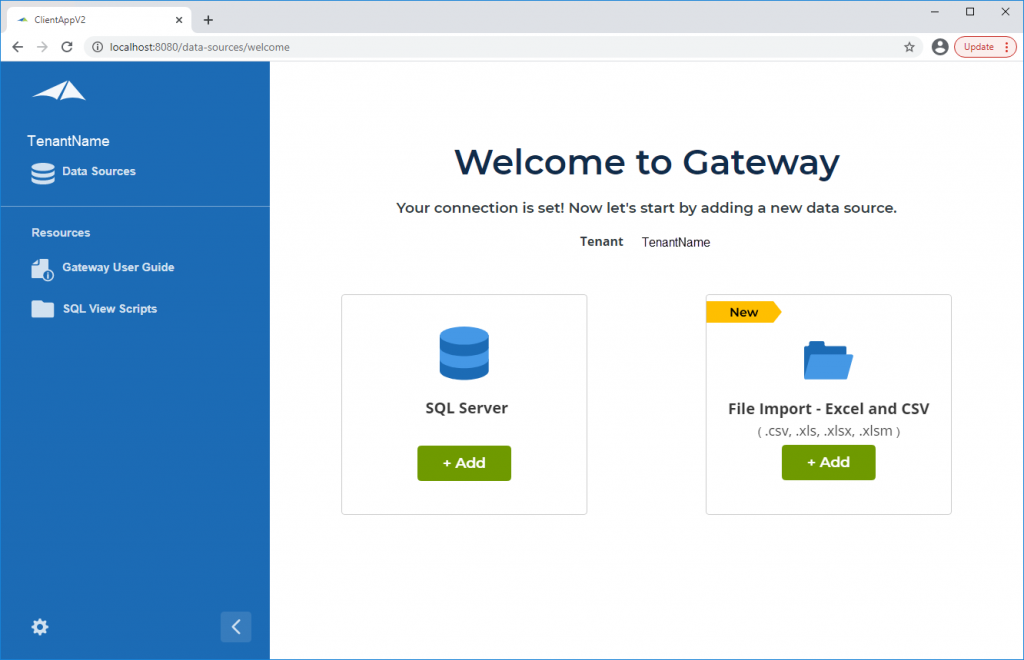
Some informative links on this page include.
- SQL View Scripts – Generic SQL views that can be ran on supported ERP systems to create General Ledger and SubLedger data sources
- Organizations using a proxy server can click the Gear icon in the bottom left hand corner to configure the Gateway to work with an organization’s proxy.
Setting Up SQL Server Connection
In this section we will detail how to create a connection to a source SQL database. A source SQL database can be the ERP database or a staging database. As previously mentioned, generic views are available within the Gateway app for supported ERPS.
In order to create a connection, the Gateway server must be able to communicate with your SQL server.
- To begin, click Add to start configuring a connection to a SQL database.

- Users will be prompted for SQL Server information including
- Connection name: a name which will appear within the Solver Cloud application. It is recommended that this name be informative for troubleshooting purposes (such as “machine name – gateway”
- Authentication Type: This is the means by which the app will connect to the database (defined later on). Choose between windows or SQL auth. In either case, the user name provided must have read permissions to the Source database.
- Complete the Username and Password text boxes below based off the authentication method selected.
- Server Address: type in the SQL server address. This can be the server IP address or the host name.
- Database: type in the name of the database where the source data is located.
- Port: by default, the gateway uses port 1433. If your SQL server is using a different port, click Change to type in the SQL server port
- Timeout: by default the Gateway has a two (2) hour timeout. If you need to increase it, click Change to increase the value.
- Values typed in, must be in seconds
- Upon completing this info, the Connect option will become available. Click Connect to establish connection. If the information provided is correct, a connection will be established and users will be directed back to the Gateway homepage where listing of the available source data will appear.

You have successfully created a connection. At this point, return back to the Solver Cloud application to begin configuring an integration.
Setting up the File Import Connector
- Click the add option within the File Import – Excel and CSV connector.

- Name your connection: this will be the name of the connection that you choose from within Solver Cloud. It is best to make this name informative to include information such as the computer name where the gateway is installed.
- Find Folder Path: Fill this information out by either typing in the name of a local drive or using the “Find Fold Path” to locate the folder containing files to be imported.
- The folder path feature only supports local computer drives, it does not support network locations
- When navigating through the local drives, double-click to expand the drives.
- Indicate whether or not the file has column headers. Fill out the information request.
- Click Connect.
- Depending on the number of files, it may take some time to load. Each excel file is opened to populate sheet names within the application, it is best to reference a folder that contains on the files that will be imported for performance purposes.
You have now successfully setup a connection to your Excel folder location and are ready to map your integration and begin loading data into Solver Cloud.