Overview
This section will cover how to build an integration and the steps to follow in order to publish and run an integration.
Configuration
In order to start configuring an integration, you will go through the following steps:
- Login
- Task Manager
- Parameters
- Summary
These steps are explained in more detail below:
Login
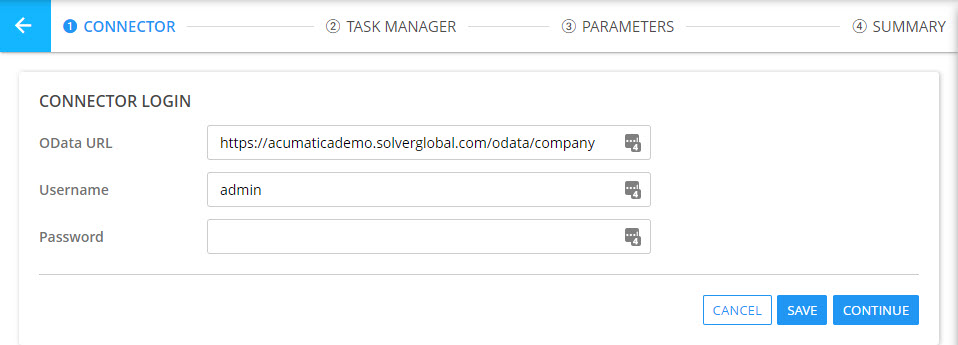
The login page is where users can enter the same set of credentials normally used to log into the ERP system. Accomplishing this step displays the desired Source Tables in the Task Manager step.
Task Manager
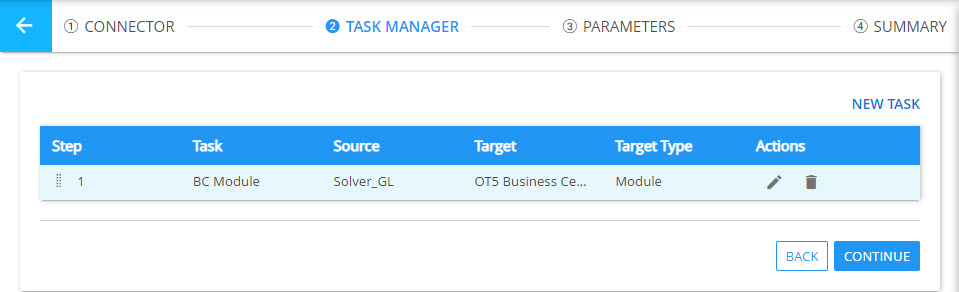
Once you log into the ERP through the portal, the Task Manager screen will load. Here you can set up tasks to import module data as well as dimension codes. The main steps for this section are:
- Task Details: Here you enter the name of the task, choose the source table from your ERP, and choose the dimension or module table that the data will be mapped into
- Task Mapping: Here you will map each of the columns from the table you selected in the previous step, and map them to columns in the destination table
- Task Filtering: Here you can choose to apply additional filters to load in a specific subset of data from your ERP to the desired destination table
Parameters
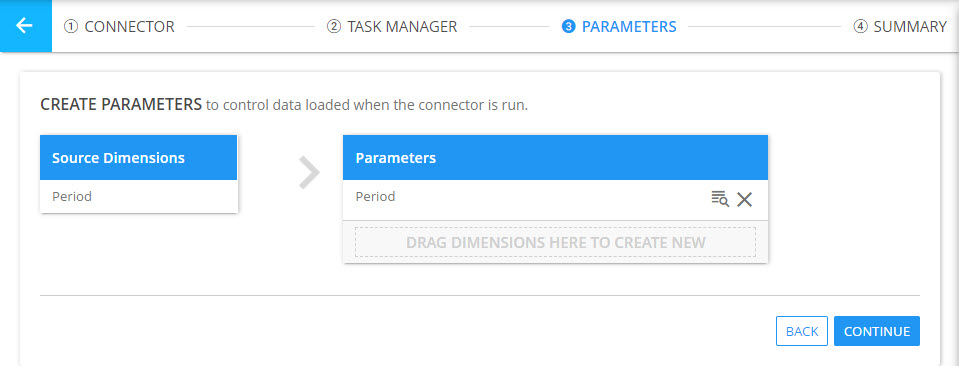
If you have created a dimension task or, for module integrations, mapped the Period dimension, these dimensions will appear under the Source Dimension section and can be dragged over to the Parameters section to create an integration parameter that the user will select when the integration is run
Summary
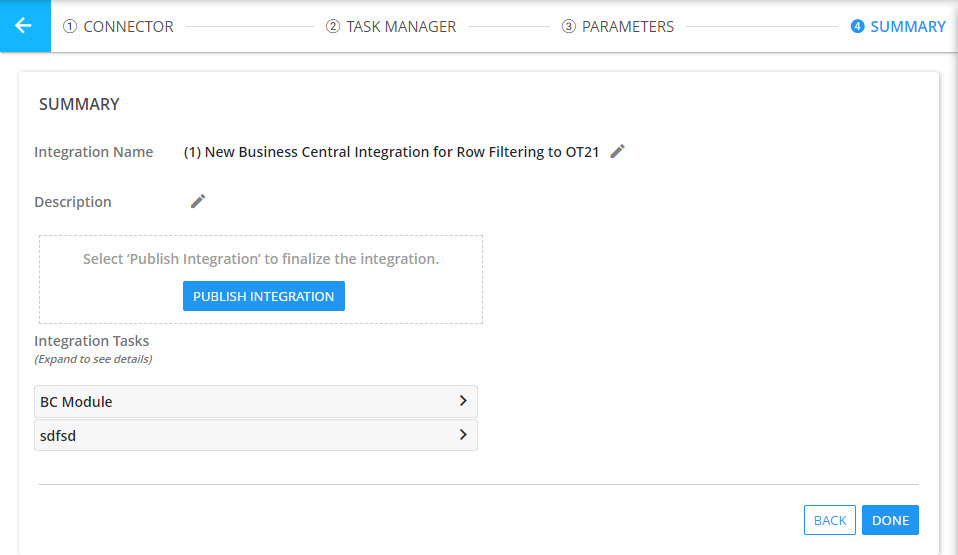
After the mappings and parameters are completed, you can enter the name of the integration itself that will appear in the Data Integrations section. In this section you can also publish the integration as long as it has a task.
<p><b>Note</b>: Unpublished integrations do not have the ability to be run.</p>